Download Troubleshooting
This page is to provide a guide to frequently asked questions related to downloading Project Alfheim and getting online!
Contents
Client Won't Download, It's Flagged As a Virus
This is an annoying one and will prevent you from downloading the client altogether. In order to set up Alfheim if this happens to you, you will need to make an exception for your downloads folder and then eventually your Alfheim folder.
The reason the client is flagged as a virus is because it directly modifies the grf and files within your Alfheim folder. (i.e. it can put an mp3 file in your BGM folder, or modify your iteminfo file directly).
Fear not, the client and download is entirely safe! But that doesn't mean you should leave your downloads folder as an exception once this is done, only your Alfheim folder needs an exception after you finish this guide. Be sure to remove your downloads folder from your exception list when completing this guide.
Step 1
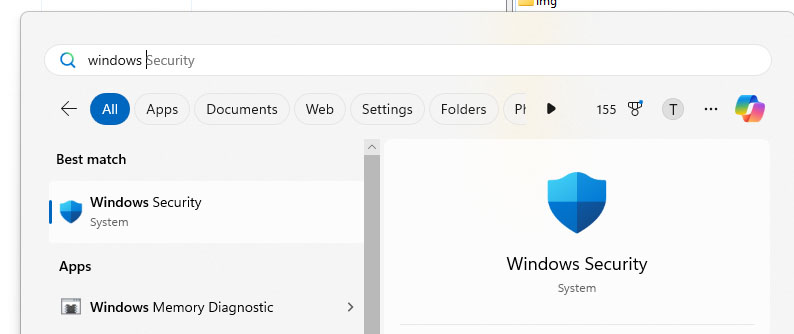
Press your windows key and then in the search bar type "Windows Security"
Step 2
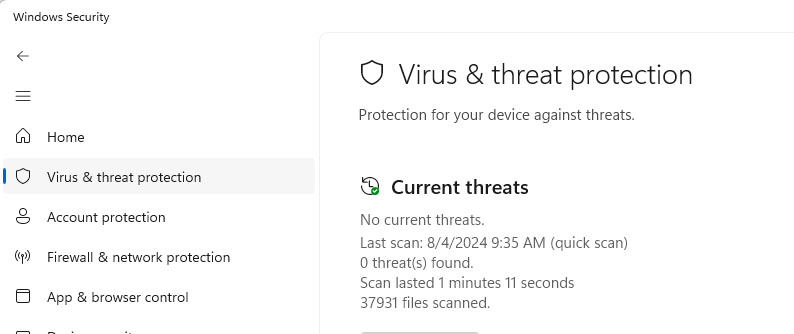
On the left hand list choose "Virus & Threat Protection"
Step 3
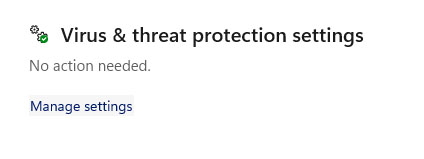
Once on that page, choose "Manage Settings" underneath Virus & threat protection settings.
Step 4
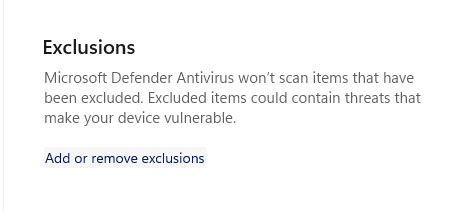
Then scroll down to the bottom and find the exclusions section, and click Add or Remove exclusions.
Step 5
You may get a User account control pop asking if its ok to access this page, just click yes.
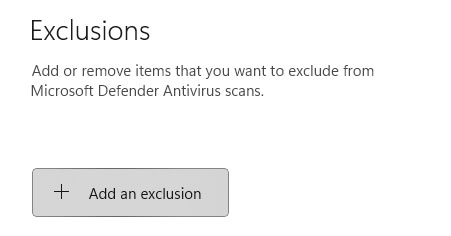
After that click the add an exclusion button.
Step 6
From the drop down list, choose "Folder"
Step 7
First you will have to make your downloads folder or wherever the file is trying to download to be saved, an exception so it will not be immediately removed or rejected.
Step 8
Since the client is zipped in a zip file, you will first need to make the folder where you will place this zip file. No picture for this one, you will have to choose where you want to place it. Simply right click anywhere you want it and make a new folder and name it Project Alfheim.
DO NOT place the downloaded zip file into the folder just yet.
Step 9
Now go back to the exclusions and add another exclusion for your new Alfheim folder. You should now have the downloads and Alfheim folder as exclusions for now.
Step 10
Place your client zip file into your new alfheim folder now that it is excluded and extract it there. If you needed to update the patcher can download our latest patcher and place it in there after the extraction.
Step 11
Once you are sure the folder is extracted and working you can go back to your exceptions list and remove your downloads folder as an exception.
DO NOT remove your new Alfheim folder as an exception or the patcher may get randomly eaten at times. If this happens, redownload using this same guide.
My Patcher Keeps Getting Deleted or I can't download the Latest Patcher
This is the same issue as above, follow the above guide to make an exception for your downloads folder, and the move the newly downloaded patcher into your Alfheim folder and make sure your Alfheim folder has an exception before doing so.
Afterwards, once again remove your downloads folder from your exception list as it is no longer needed.
I can't access the downloads website, its blocked
To get around this you will need to change your DNS to another DNS, we recommend google's DNS since we can confirm it works for us as a workaround. Don't worry you can change it back to your normal automatic DNS after.
Step 1
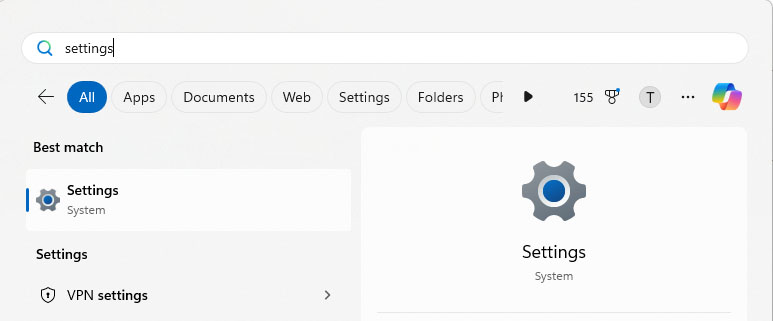
Hit your windows key and then type settings and select the settings option that pops up.
Step 2
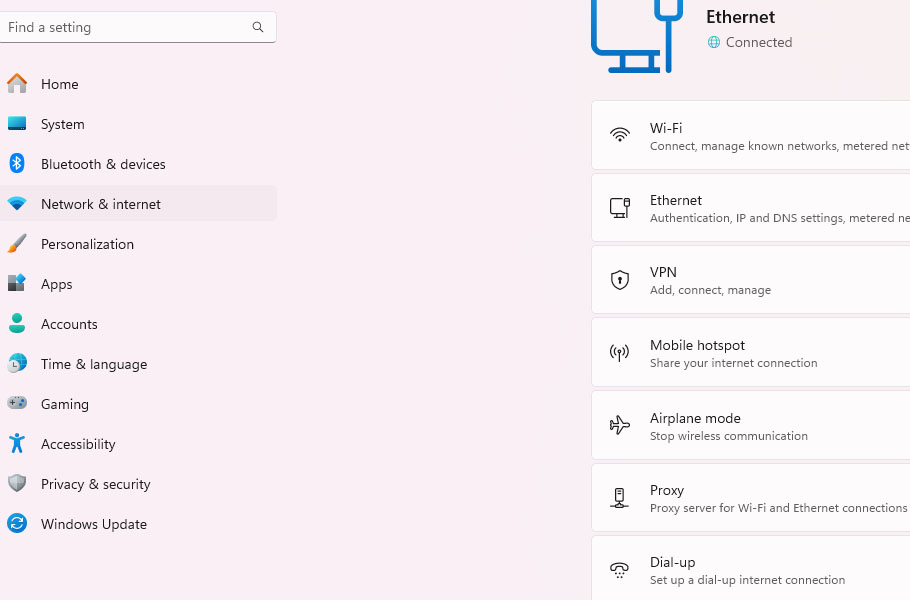
Select Network & Internet from the options list on the left hand side of the window that pops up.
Step 3
Select your internet connection either through Wi-Fi in the middle options or Ethernet if you are directly connected.
Step 4
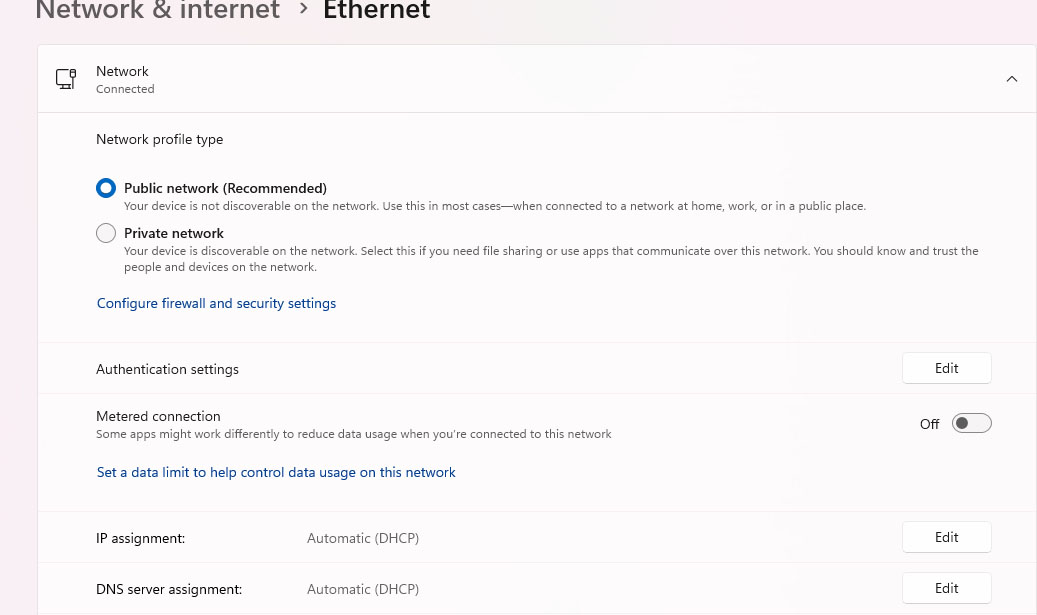
Find the DNS server assignment section near the bottom and select the "edit" button.
Step 5
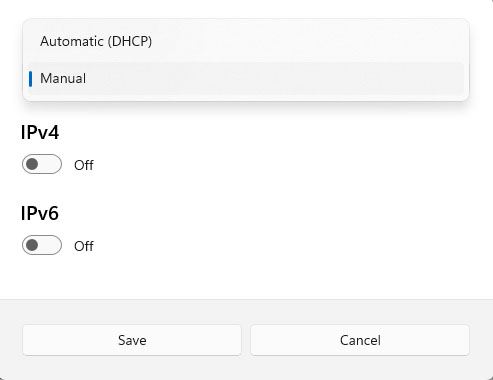
From the window that pops up, click the drop down menu that currently should say automatic, and choose manual.
Step 6
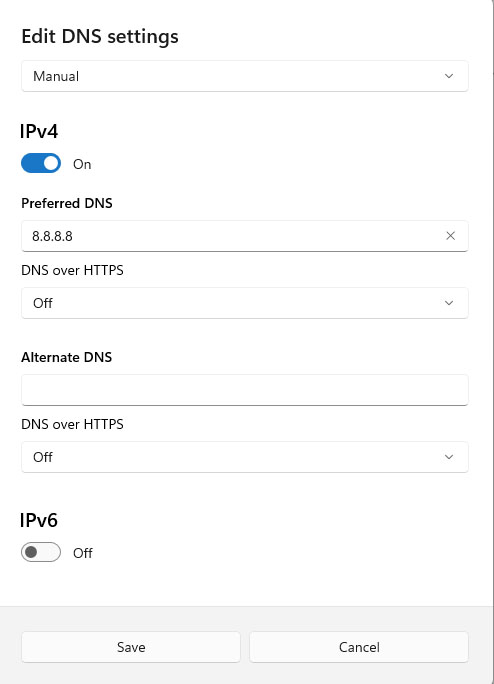
Then select IPv4 and turn it on.
Then you have two options to enter before hitting save.
You can enter 8.8.8.8 or alternatively can try 8.8.4.4 .
After you've entered hit save.
Step 7
Once you've downloaded from the website and successfully acquired the downloads from it, you can go back and change your DNS to its default automatic. You can swap to the 8.8.8.8 or 8.8.4.4 any time you need to access the website to redownload.
